I'm impressed. I did a DIY, took pictures of the process and it all even came out quite nicely.
I am stepping up my blogger game!
The best part is that I used items I already had kicking around (What? You don't stock gold spray paint in your house?), so I didn't spend any money either. This makes me happy because I've done projects before that were meant to be all thrifty and DIY but just ended up being a huge money drain...
And while I know people like to call polka dots a trend, it feels more like a classic. I'm hoping I'll use this clutch long after the word oxblood is a distant memory of 2012.
Below are the steps for my mind-blasting DIY...
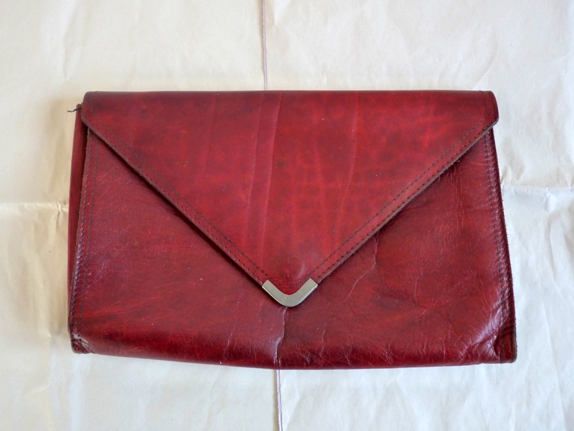


1. I thrifted this leather envelope clutch for $4 recently. I would usually be pretty reserved about spray painting a perfectly good classic leather clutch, but I have a few of these burgundy clutches. They seem to be an easy find at the thrift store.
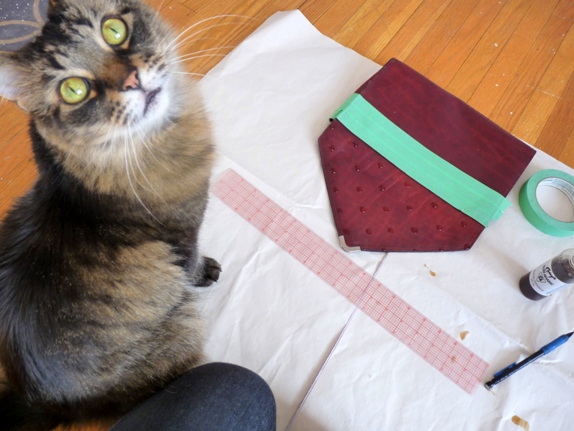
2. The back of the clutch was taped off and then I used Gum Arabic to block off a polka dot pattern. I used the eraser side of a pencil to blot out dots and a clear ruler to measure out the spacing. Then I had to wait very patiently for the Gum Arabic to dry. This part was difficult. In hindsight this could have been so much easier if I used Glue Dots because there would be no drying time and the dots would be pre-shaped but I didn't think of that until the end. Besides I've had that Arabic Gum since my first year university art classes so I might as well bring it out again... about a decade later.
3. This post wouldn't be possible without Kyle's close supervision. Not only is he adorable and fluffy, he is also shockingly good when I am working on stuff. He likes to be nearby so he can see every detail but he doesn't touch; just watches intently from an inch away. Thank you Kyle for your contribution.
4. I spray painted the front of the clutch using some regular gold spray paint. It helps to test a little area inside the clutch to make sure the spray paint binds and sticks to the leather. When the paint dried, I carefully peeled and chipped the dried Arabic Gum away to reveal a perfectly adorable polka dot pattern.

This post offically makes me a DIY blogger*. Get ready world.
*or not. Sounds like work.
Full disclosure: I re-painted only my thumb nail for these pictures.